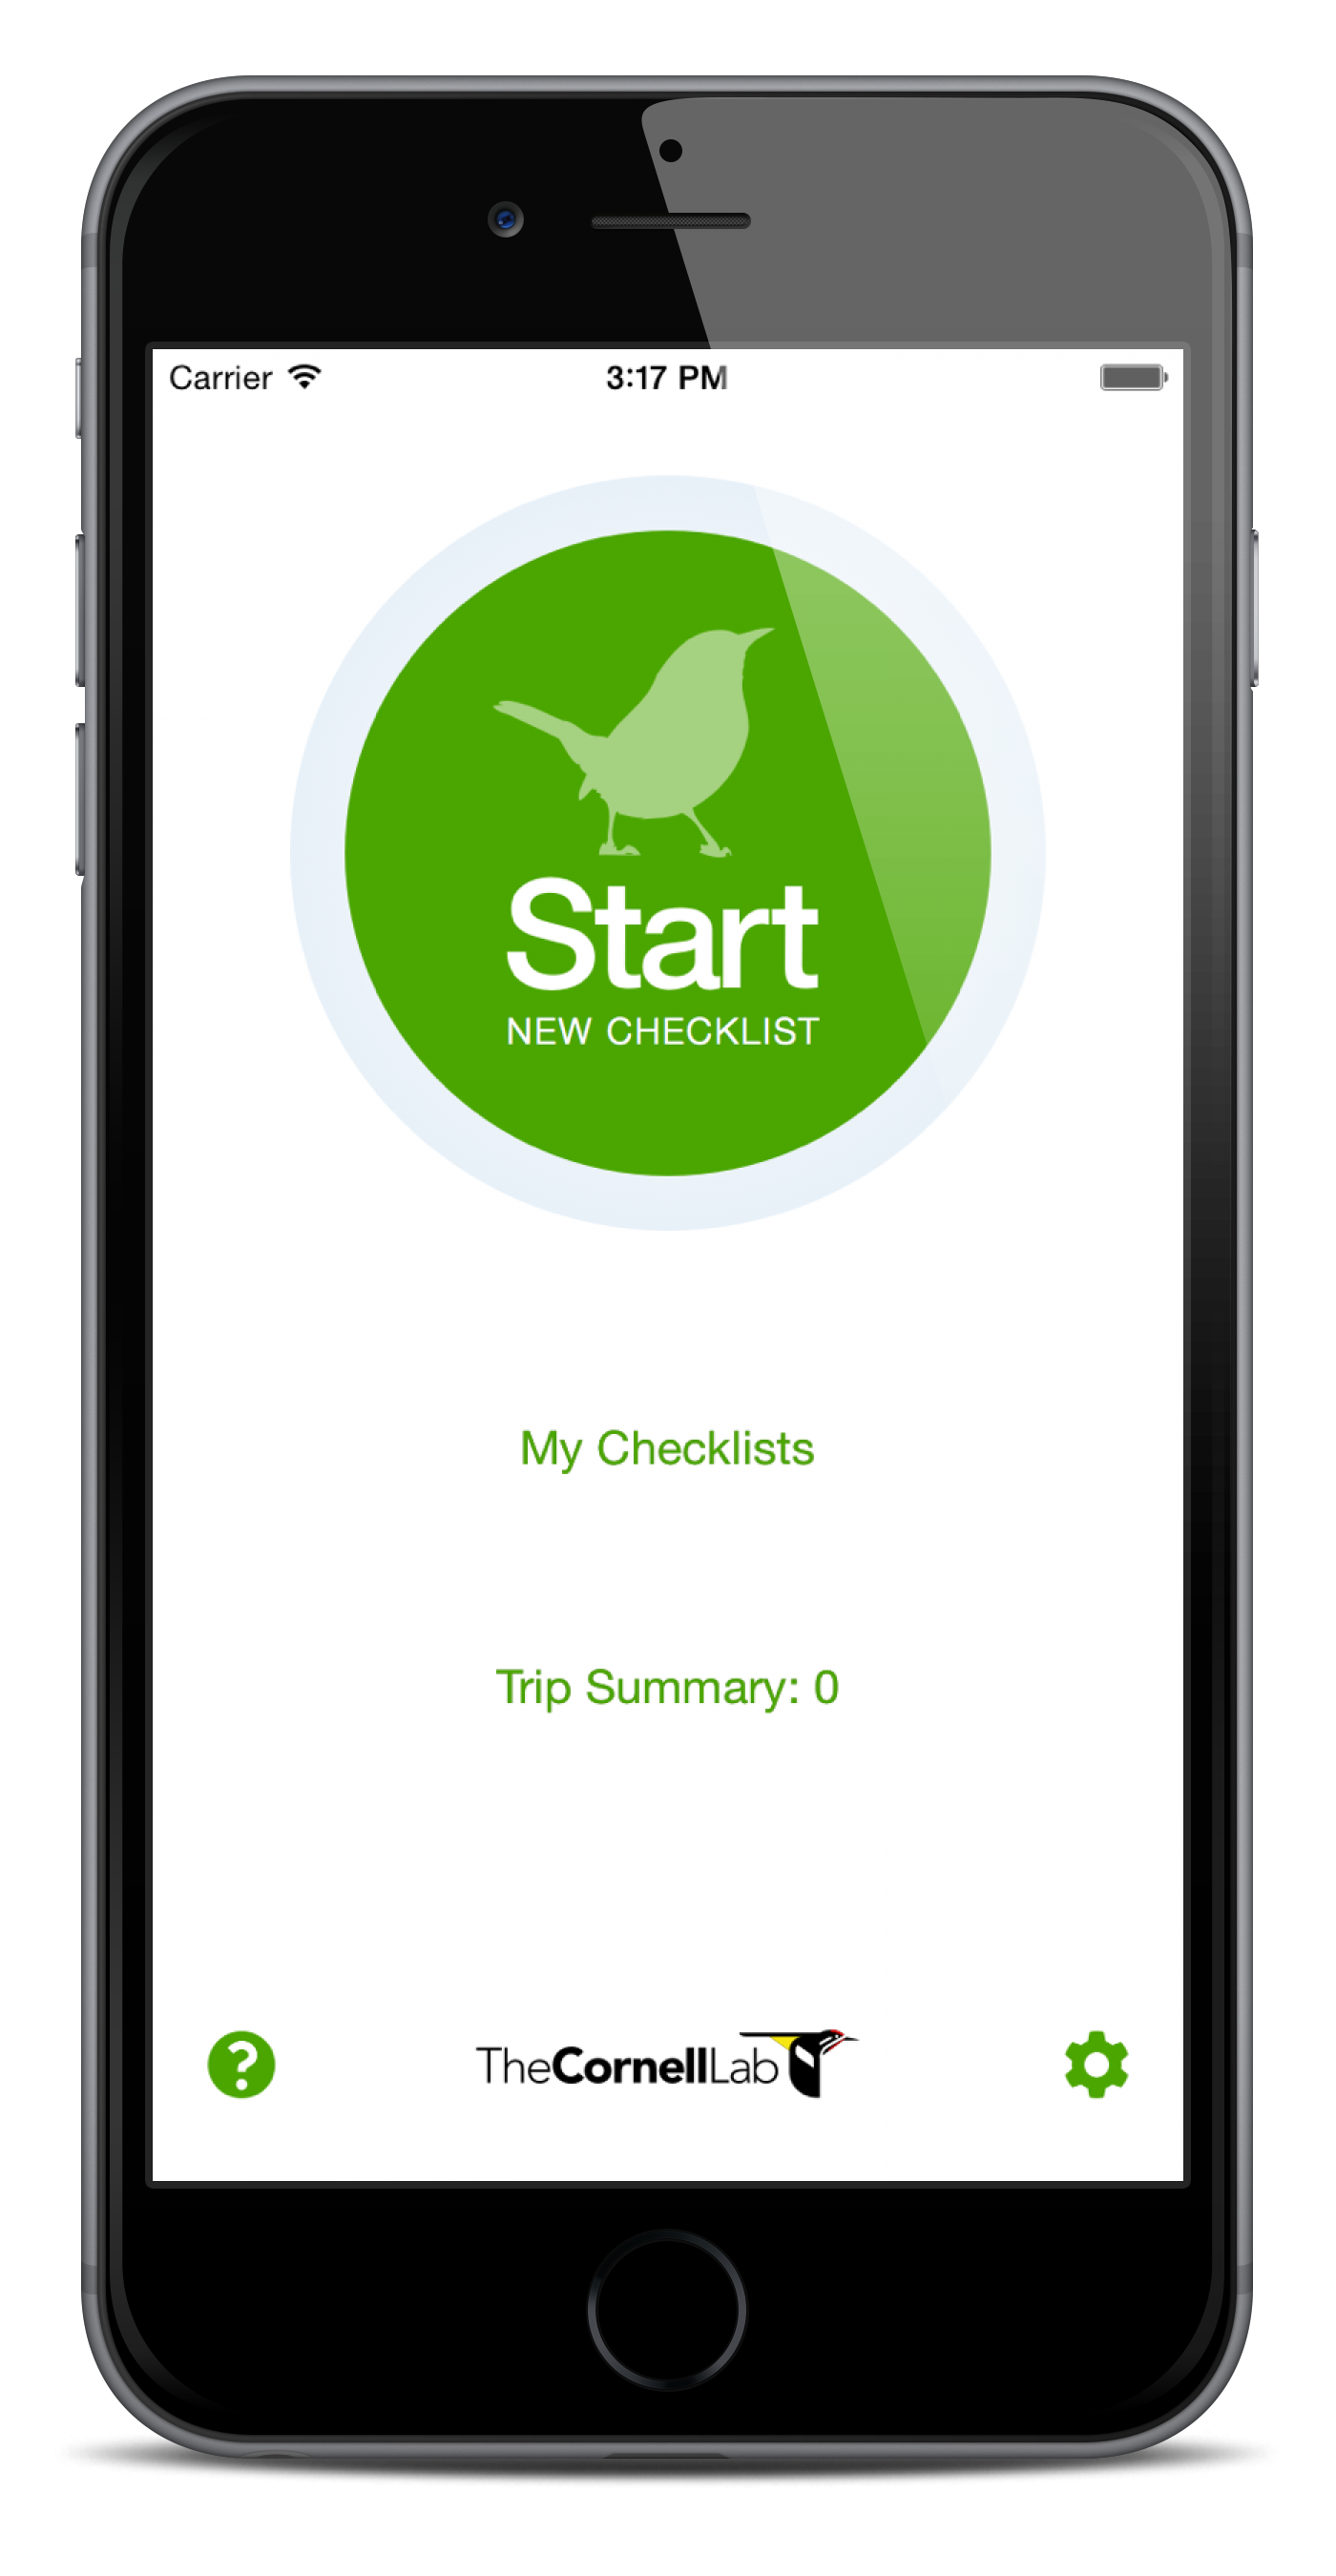
Many atlasers like to submit checklists to eBird directly using their smartphones or tablets. Our highest development priority right now is getting a fully integrated mobile app for entering data in the field. While that is currently still under development, for now you can use eBird mobile, and use a workaround that allows you to enter a checklist in the field and then modify it later on your computer to enter it fully into the atlas.
Formerly, when you used eBird mobile to submit a checklist to the atlas, the first step was to go through and change the portal.
Good news! You no longer have to change the portal because you can now set your eBird mobile checklists to use the Wisconsin Breeding Bird Atlas portal!
Here’s how:
- Download/Update to the latest version of eBird Mobile, which is 1.2.0 (as of early May 2016).
at the App Store or Google Play. - Open the app and hit the gear icon on the lower right.

3. Click Portal and change it from “eBird” to “Wisconsin Breeding Bird Atlas”

This will save you one of the three steps you used to have to do. However, beware that this defaults your eBird mobile app to the Atlas portal for all future checklists unless you specifically change it back to the regular Wisconsin eBird portal using the same process. Remember, checklists with one or more breeding codes go into the Atlas eBird portal while checklists with no codes go into the regular eBird portal.
Unchanged news: In order to fully make your checklist part of the atlas, you will still have to log back in on a computer to 1) enter breeding codes using the dropdown menus and 2) to double-check your location plotted correctly and it meshes with block lines as you intended.
- eBird Mobile does not currently have drop-down menus for breeding codes, but does offer a comment field next to every species. When you are out atlasing, we suggest using the species-level comments field to record breeding codes or other notes. When you get home, visit the eBird Atlas site on a desktop computer, which will allow you to open up the checklist (Go to My eBird, Manage My Checklists) and use the drop-down menu to officially enter the breeding codes into the system. The next planned update will add species code drop-down boxes to the mobile app.

- At times, mobile checklists can be problematic with respect to accurately plotting your location when reception is poor. Checklist locations should always be checked later to ensure location and Atlas block accuracy. You can check where the location falls by going to Submit Observations on the eBird Atlas portal, and going to the Find it on a Map option where all your locations are displayed (with the Atlas block grid). Even if you are having trouble plotting a location, checklists can be created using the “offline” mode. Once a set of eBird locations are established, eBird mobile can quickly access those locations during subsequent visits without needing to access map data. We anticipate a future update of the mobile app will allow you to view the atlas block grid when plotting locations, but this may not be until 2017.
 Why is this taking so long? The eBird developers report that it’s actually much more complicated than you’d think to make these changes to the app. The database structure basically needs to be redesigned in order to be able to support these changes. In the meantime, we’re with you in anxiously awaiting more developments to improve mobile Atlasing and rest assured eBird has someone working on this right now to make it even easier to Atlas on your mobile device. Also keep in mind that Wisconsin is pioneering this entire Atlas-eBird-mobile effort, which means a little more patience for us but big rewards for states conducting Atlas work in the years ahead.
To summarize, the current situation is this: You can Atlas with eBird Mobile as long as you remember that when you get back to a computer you should 1) enter the breeding codes using the drop-down, 2) verify location accuracy.


